Skip to content
Trending:
The Best 30 Minute Dinners
Facebook
Twitter
Instagram
Pinterest
Recipes
Saving Money
Travel
About
Contact
Blog
search
Search
Browse by Diet
Expand
Vegetarian
Gluten-Free Dairy-Free
Main Dish
Breakfast
Snacks
Desserts
Side Dish
Drinks
Facebook
Twitter
Instagram
Pinterest
search
Search
Toggle Menu
Home
/
2012
/
May
Month: May 2012
Homemade Ice Cream Sandwiches
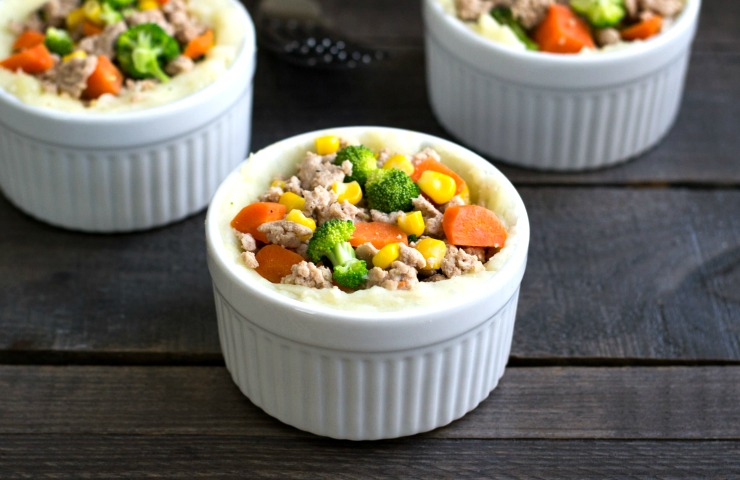
Upside Down Turkey Shepherd’s Pie
Chipotle Tortilla Soup
Strawberry Cupcakes
Chipotle Chicken Taco Salad
Coconut Bars with Chocolate Drizzle
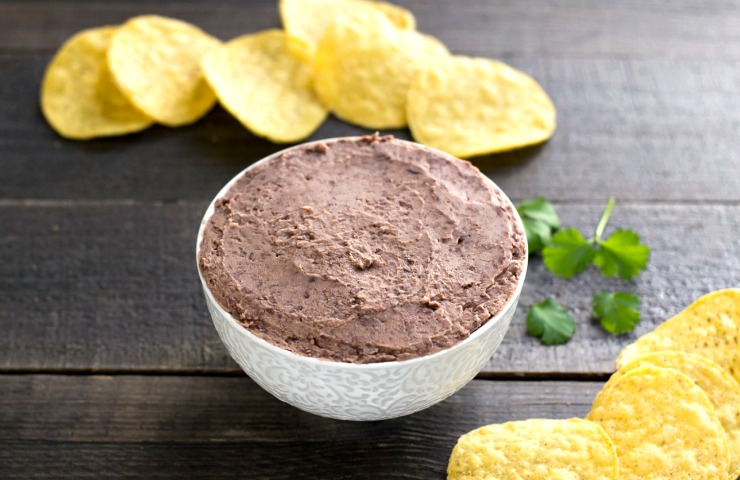
Chipotle Bean Dip
Cherry Rhubarb Cobbler
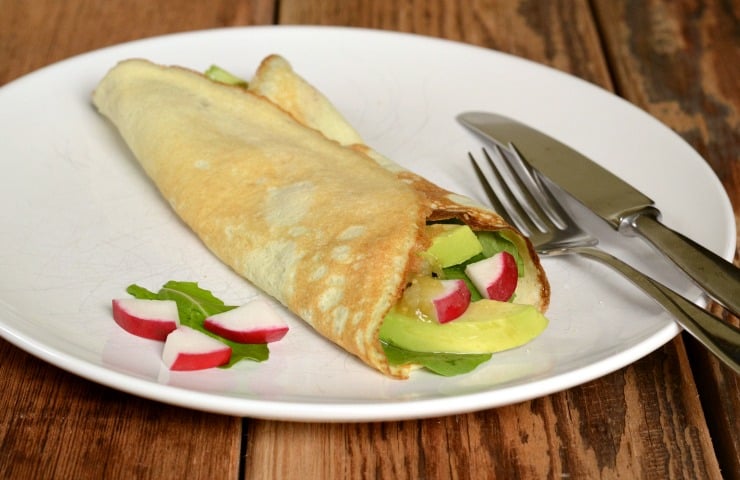
Avocado, Radish, and Arugula Crepes
Page navigation
1
2
Next Page
Next
Scroll to top
Scroll to top
Recipes
Saving Money
Travel
About
Contact
Blog
Toggle Menu Close
Search for:
Search