Skip to content
Trending:
The Best 30 Minute Dinners
Facebook
Twitter
Instagram
Pinterest
Recipes
Saving Money
Travel
About
Contact
Blog
search
Search
Browse by Diet
Expand
Vegetarian
Gluten-Free Dairy-Free
Main Dish
Breakfast
Snacks
Desserts
Side Dish
Drinks
Facebook
Twitter
Instagram
Pinterest
search
Search
Toggle Menu
Home
/
2012
/
June
Month: June 2012
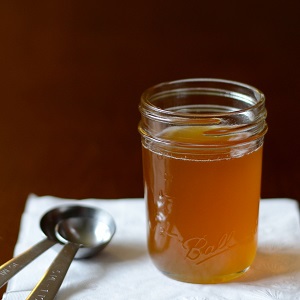
How to Make Ghee
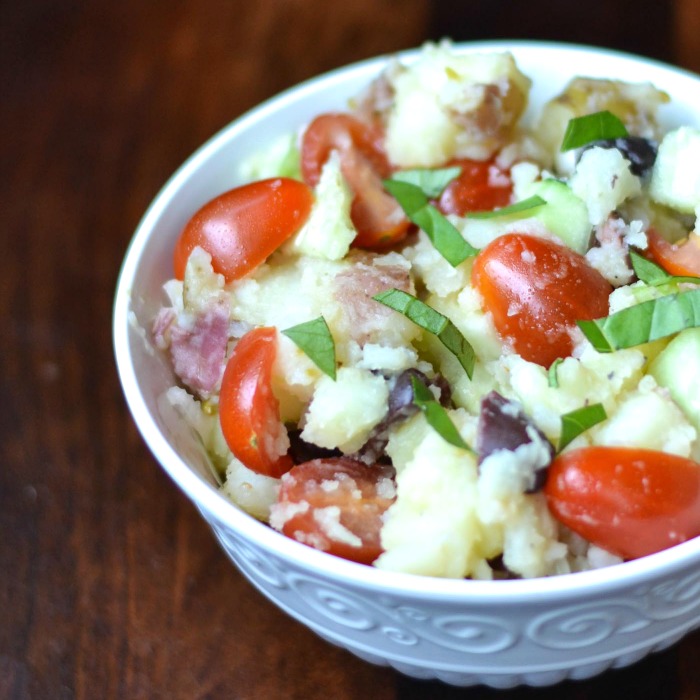
Mediterranean Potato Salad
Rainbow Salad in a Mason Jar
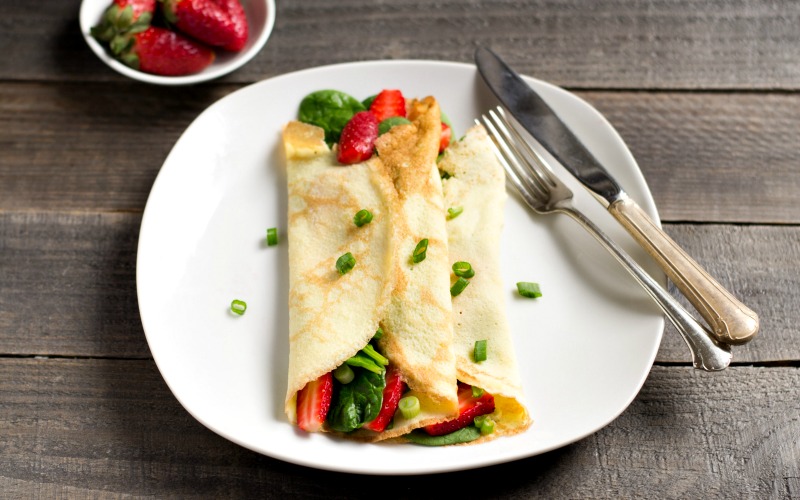
Strawberry Spinach Crepes
Berry Banana Crepes
Cherry Peach Bars
Lentil Farm Share Skillet
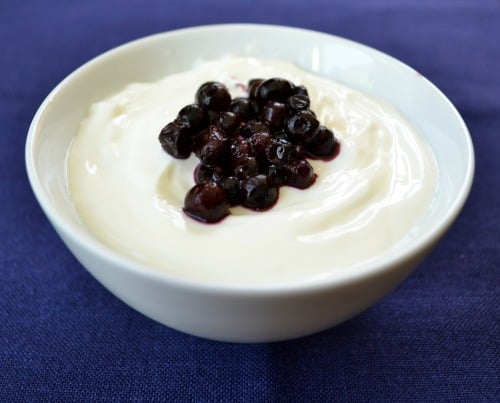
Homemade Yogurt
Mango Avocado Steak Salad
Scroll to top
Scroll to top
Recipes
Saving Money
Travel
About
Contact
Blog
Toggle Menu Close
Search for:
Search