Skip to content
Trending:
The Best 30 Minute Dinners
Facebook
Twitter
Instagram
Pinterest
Recipes
Saving Money
Travel
About
Contact
Blog
search
Search
Browse by Diet
Expand
Vegetarian
Gluten-Free Dairy-Free
Main Dish
Breakfast
Snacks
Desserts
Side Dish
Drinks
Facebook
Twitter
Instagram
Pinterest
search
Search
Toggle Menu
Home
/
2012
/
August
Month: August 2012
Citrus Tilapia
Pesto Cream Cheese Spread
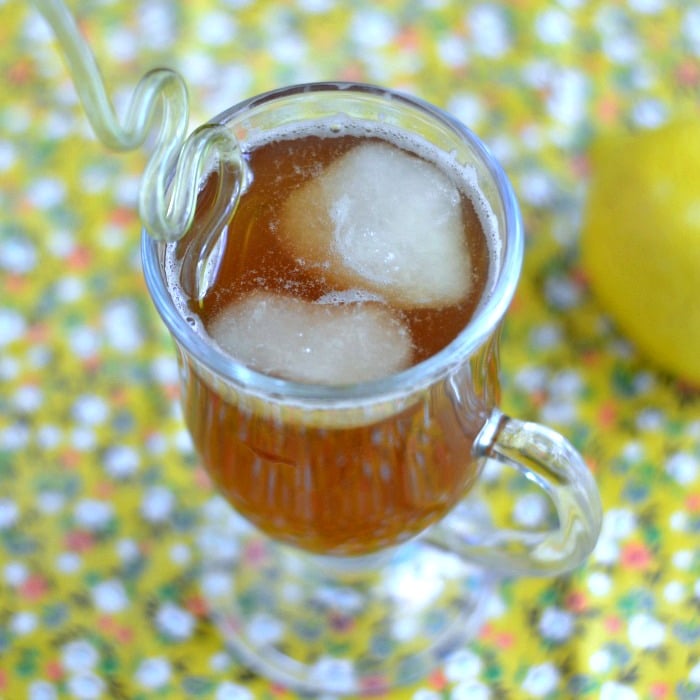
Iced Tea with Lemon Sorbet
Chocolate Sourdough Cake
Oven Roasted Tomatoes
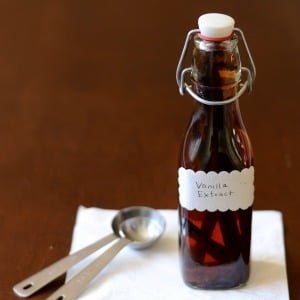
Homemade Vanilla Extract
Ranch Dressing with Greek Yogurt
How Much Money Can You Save by Making Food Yourself?
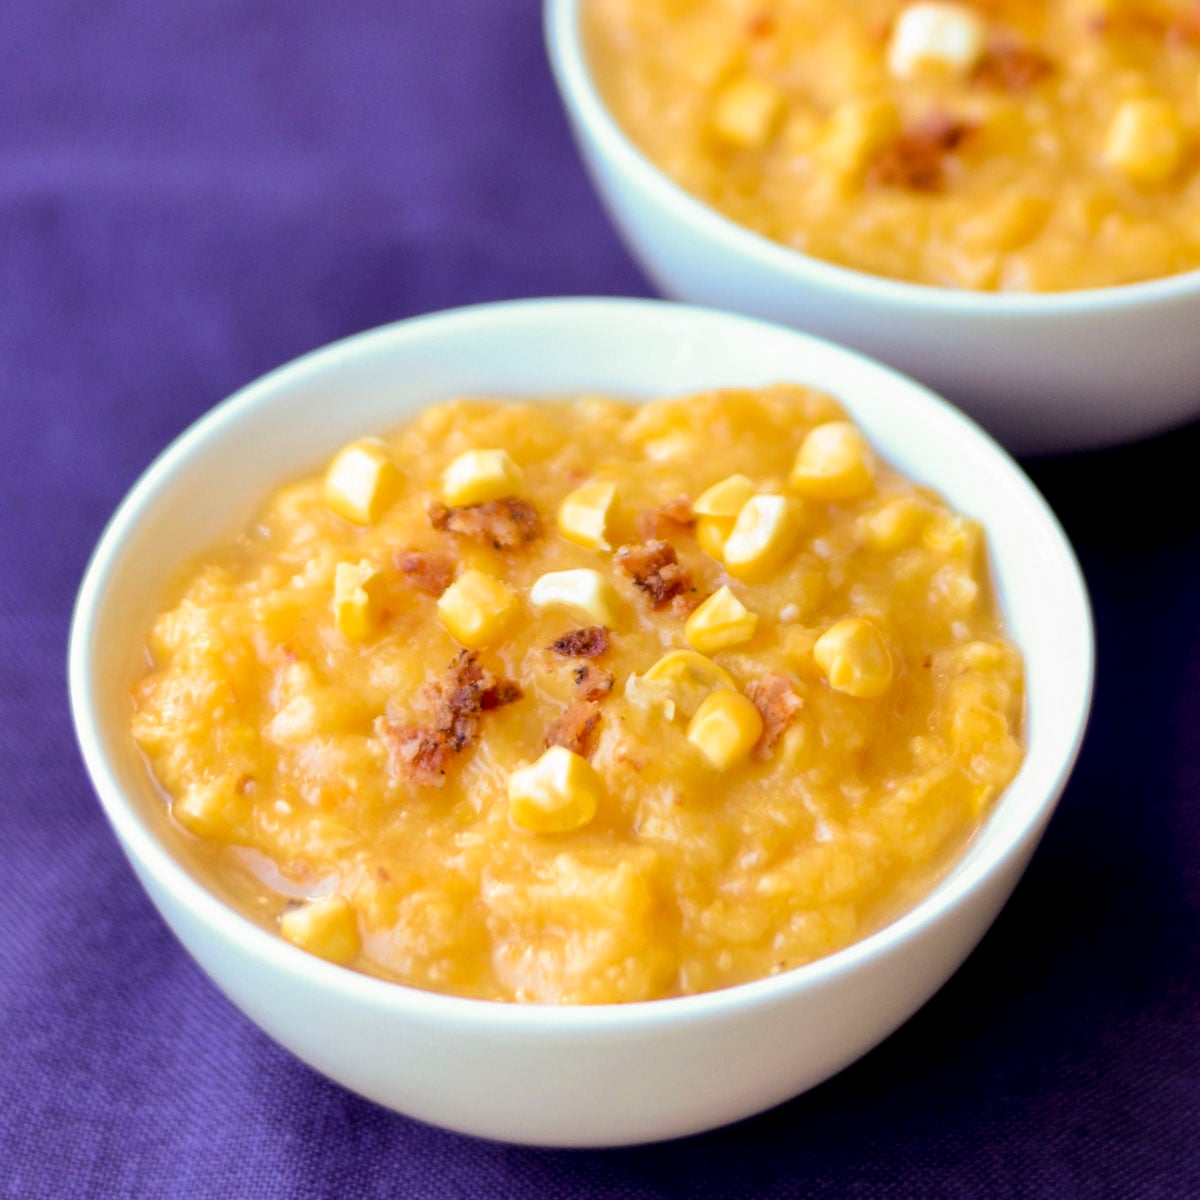
Corn Chowder
Scroll to top
Scroll to top
Recipes
Saving Money
Travel
About
Contact
Blog
Toggle Menu Close
Search for:
Search